
The sequence is prime first, caulk second, paint third, and the reason is adhesion.
Why primer comes first
Bare wood is porous. Caulk applied to it loses moisture and solvent into the substrate before it can cure properly, and the bond it forms is to a surface that is still absorbing. The joint opens within a season, and it typically opens along one side only — the porous one.
Primer seals the surface. Caulk then bonds to a sound, non-absorbent film and stays where it was put.
The same applies to old chalky paint, to bare drywall paper at a joint, and to raw MDF, which is the most absorbent of all.
Why caulk comes before the topcoat
Caulk applied over finished paint is a visible bead on top of the surface rather than a filled joint. It also shows differently in sheen — a satin topcoat and a caulk bead reflect light differently, and the line reads as a repair.
Caulking before the topcoat means the paint film runs continuously across the joint, and the joint disappears.
What to caulk and what to leave
Caulk: the joint between trim and wall, inside corners of trim, gaps at the top of baseboard, mitres that have opened slightly, nail holes after filling.
Do not caulk: the bottom edge of exterior siding courses, weep holes, the underside of a window sill, or any drainage path. Sealing these traps water inside the assembly, and trapped water does far more damage than the gap ever would.
This is the most consequential distinction in the whole subject. On the exterior, caulk is for keeping water out of joints that should never be wet, not for closing every visible gap.
Choosing the product
Acrylic latex with silicone for interior trim. Paintable, water-cleanup, and it takes paint without cratering.
Elastomeric or urethane for exterior joints that move. More expensive, considerably more flexible, and worth it anywhere with real seasonal movement.
Pure silicone is not paintable. Paint will not adhere to it and will bead off. It belongs in kitchens and bathrooms where nothing goes over it, and it is a mistake anywhere a topcoat is planned.
Check the tube for "paintable" before it goes near trim.
Technique that matters
Cut the nozzle small and at an angle — smaller than the gap looks. It is easy to add more and impossible to remove excess neatly.
Push the bead rather than pull it, which forces caulk into the joint instead of laying it across the surface.
Tool it once with a wet finger or a caulk tool, in a single pass. Repeated tooling drags partly-set caulk and leaves ridges.
Wipe the tool between passes. Accumulated caulk on a finger is what smears a clean line.
Timing before the topcoat
Most paintable caulks want 1 to 2 hours before painting, and some need considerably longer in cool or humid conditions. Painting a bead that is still soft traps solvent and produces cracking along the line as it later shrinks.
That crack looks like the caulk failed. It is the paint holding a skin over caulk that was still moving.
The one exception to the order
On a repaint where the existing paint is sound and no bare substrate is exposed, caulking before priming is unnecessary — the old paint is already the seal. The order becomes caulk, spot prime any bare areas, then topcoat.
Where any bare wood shows, prime it first regardless of how small the area is.
How much movement the joint will see
Caulk is rated by how far it can stretch and compress without losing its bond, and the rating on the tube is the specification that matters for exterior work. A joint between two pieces of wood that expand and contract across a season needs a product rated for that movement; a general-purpose acrylic in the same joint splits down the middle in its first winter.
Interior trim joints move very little, which is why inexpensive acrylic latex performs perfectly well there and why the same product disappoints outside.
Backer rod, where the gap is wide
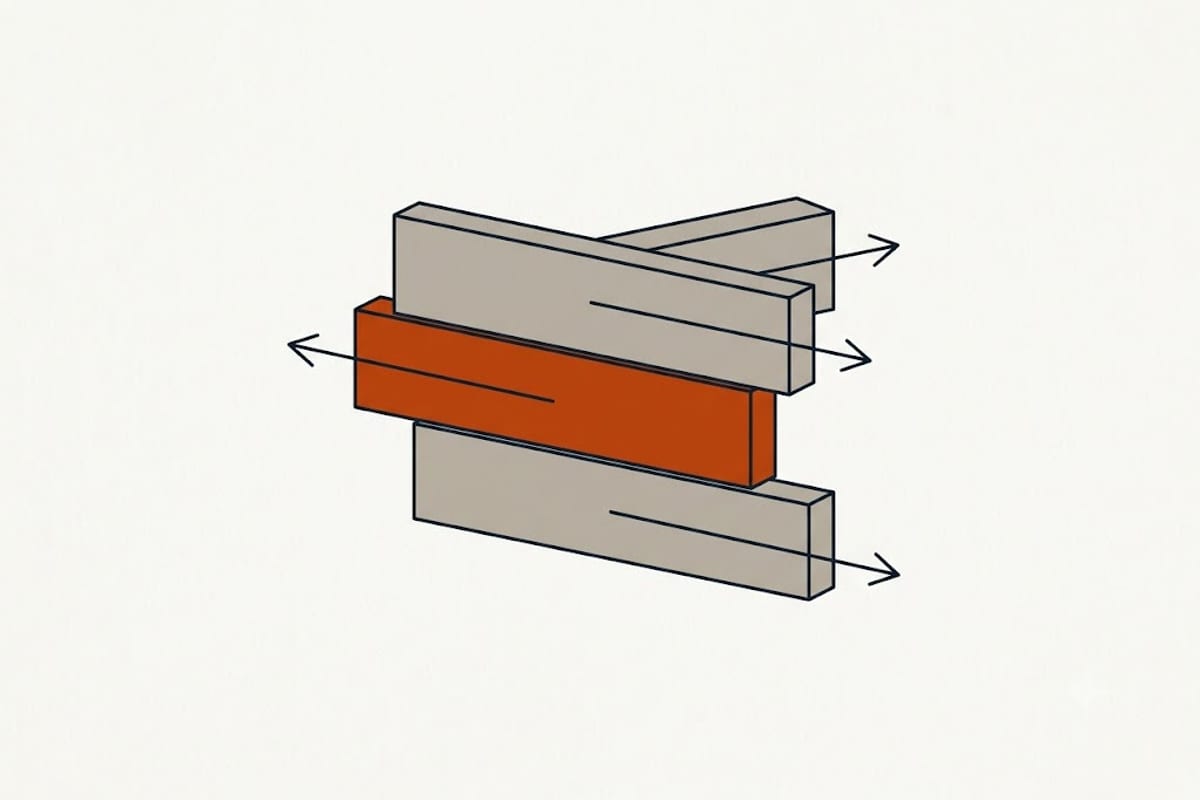
A gap wider than about a quarter inch should not simply be filled with caulk. A deep bead bonds on three sides — both faces and the back — and a joint bonded on three sides cannot stretch. It tears instead.
Push closed-cell foam backer rod into the gap first so the caulk bonds only to the two faces and is free to flex in the middle. This is standard practice on the exterior and almost never done on interior work, where the gaps are small enough not to need it.